Live videos rank better on searches and can help you increase your YouTube channel’s visibility. If your video performs well, you could possibly get featured on YouTube’s Live section. You need to first ensure that you’re following all the steps to maximise your live stream. We’ve outlined everything you need to help you improve your live stream dramatically and reach more people.
1. Pre-test
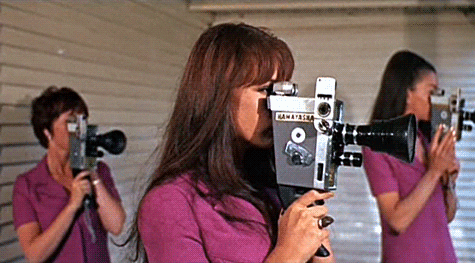
Set up all your equipment and make sure everything is working two hours before going live. You must test your audio, video, internet lag and lighting. Also run a speed test to check if your upload bitrate is stable. YouTube suggests that the stream will use about 10MB of data per one minute of streaming. Next, record your video on a private (unlisted) stream so that it’s visible only to you, and check if there’s anything you need to tweak.
2. Grab an extra display screen
It’s important for you to see yourself from your audience’s perspective. Connect an extra display that shows your live stream in real-time as you go on air. Place it right next to your video camera so that you can change your seating angle and make adjustments accordingly.
3. Get a friend to help out
Ask a friend to monitor your live stream to make sure your voice isn’t chopping or your movements aren’t lagging. If they detect any issues, they can contact you right away. You can also ask them to moderate your comments and reply in real-time on behalf of you.
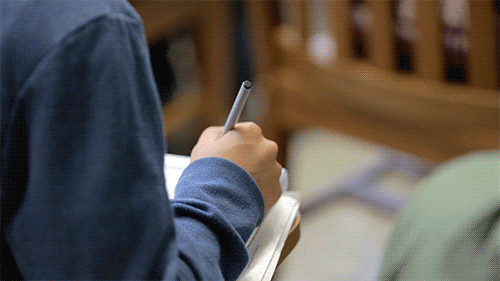
4. Jolt down pointers
Always have a list of key points you can talk about in case you go blank right in the middle of your video. Plan your script carefully and break it down into three sections – intro, mid and outro – to ease the flow.
5. Beware of time zones
People will be tuning in to your live stream from different geographies. For best practice, use YouTube Analytics to learn which countries most of your fans are from. Standardise a timezone that’s compatible with the majority of your fans. Make it clear to viewers that you will be going live according to this specific time zone through all your live streams.
6. Push for notifications
Get people to click on the notification bell icon next to the subscribe button. Your subscribers will get direct notifications when you go live.
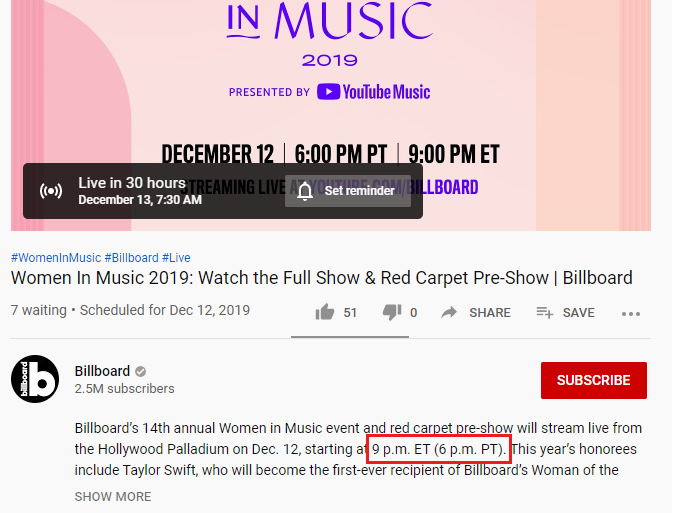
You must schedule your live stream video in advance to publish on a particular date and time. Once you schedule your video, YouTube populates a special URL that directly takes viewers to your live stream video. You can personally invite viewers to view your live stream through this URL.
https://www.youtube.com/watch?v=jcN6xQ8ehcs
8. Promote your live stream as if it were an event
Start posting teasers two weeks before your live stream, post promotions on social media, send personal messages to your subscribers if possible, advertise it on all your marketing collateral and send them notifications.
9. Create highlights
YouTube live lets you take snippets off your live video and post them as highlights. These snippets are great for repurposing as standalone videos, promotional content or social media posts. It can save you hours of time and effort from creating new videos.
Try it now. Record a test live stream and see how you go!
Interested in getting your YouTube channel seen by a huge audience? Get started here: www.flintzy.com